As a wee Valley gal, I spent a lot of time creating ‘masterpieces’ at the kitchen table with a big ol’ clump of homemade Play-Dough. I can recall always preferring the ‘real deal’ to the stuff my mom whipped up in a bowl, however the latter was a much cheaper alternative.
In our household, we go through a LOT of store-bought Play-Doh. The girls often leave the lids off, which makes it dry up into useless lumps or sneak it into their pockets, between their toes, diapers, etc. That’s more money we don’t have going down the drain — such a waste.
On a recent rainy afternoon, I thought it would be fun for the three of us to make our own batch. But I didn’t want to make just any old Play Dough, it had to be like the real deal you get at Toys R’ Us. Mommy mission accomplished – here’s the recipe:
DIY Play Dough
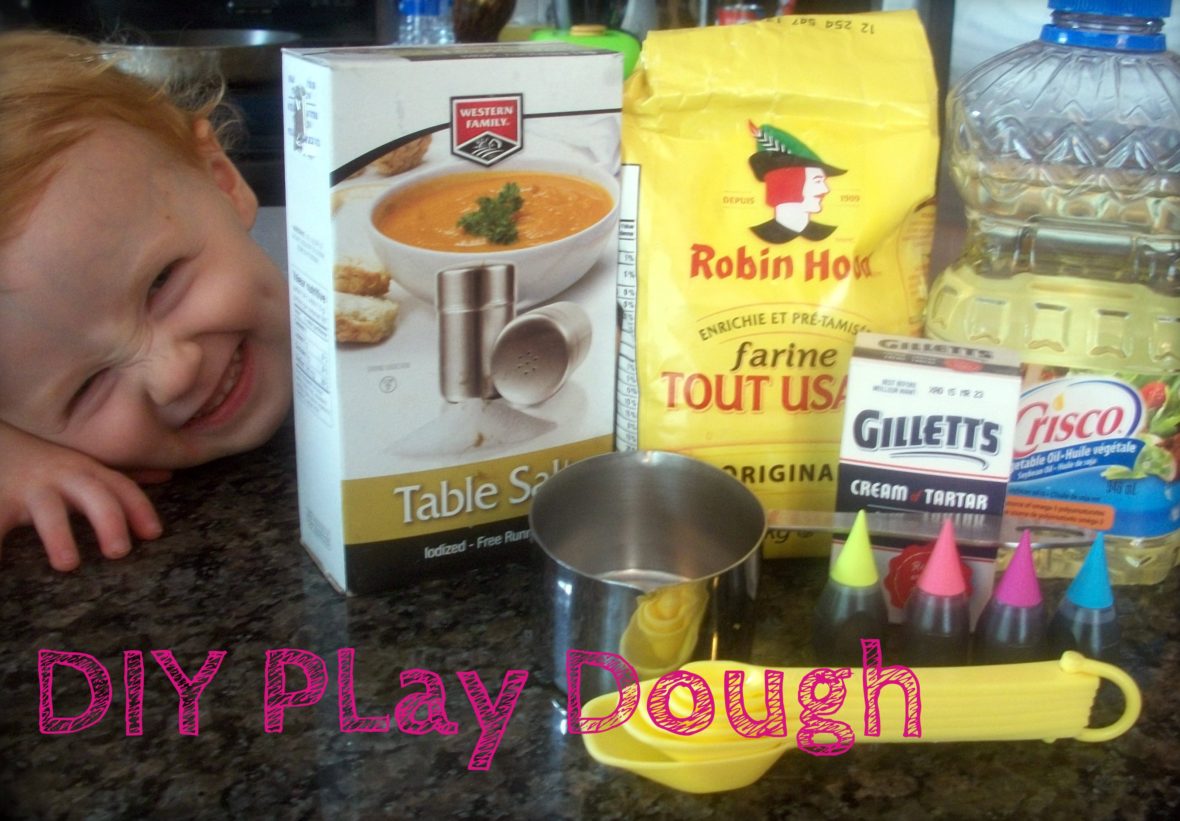
- 1 cup white flour
- 1/2 cup salt
- 2 tablespoon cream of tartar
- 1 tablespoon oil
- 1 cup water
- food colouring
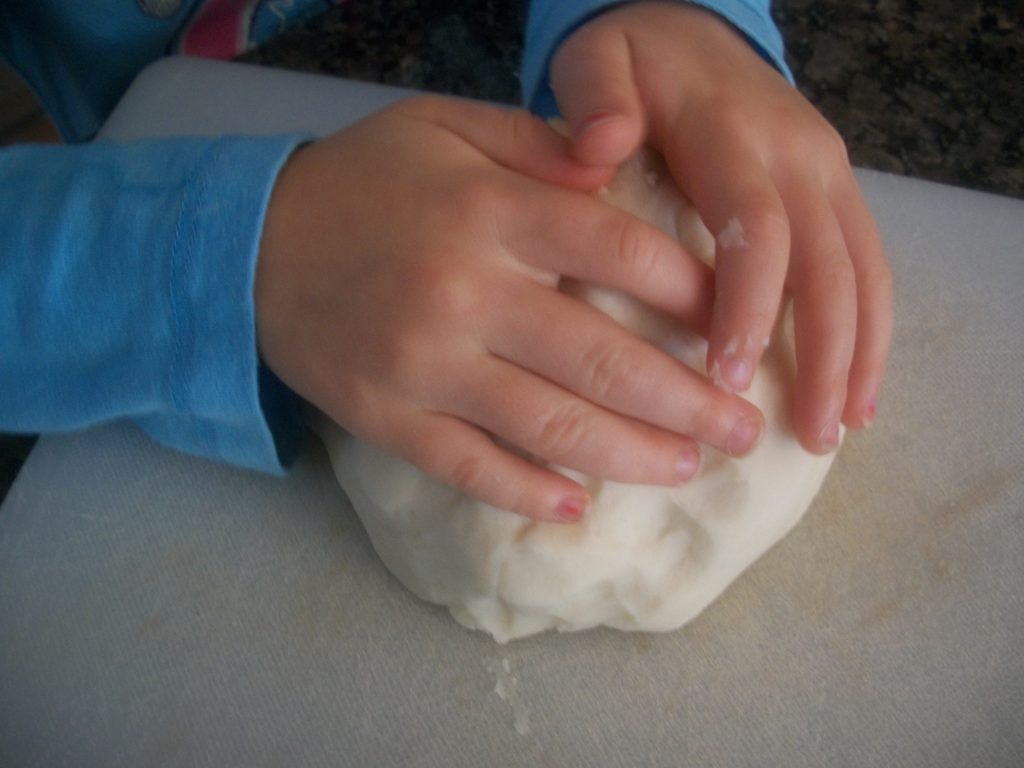
2.The dough should become difficult to stir and form a clump. Remove from stove and knead for five minutes–add food colouring during kneading process (unless you want hands that resemble Easter Eggs make sure you wear plastic gloves). As long as you keep the play dough stored in a covered plastic container, Saran Wrap or baggie, it will keep for a long time. Note: avoid storing it in the fridge as it tends to get too cold for little hands.
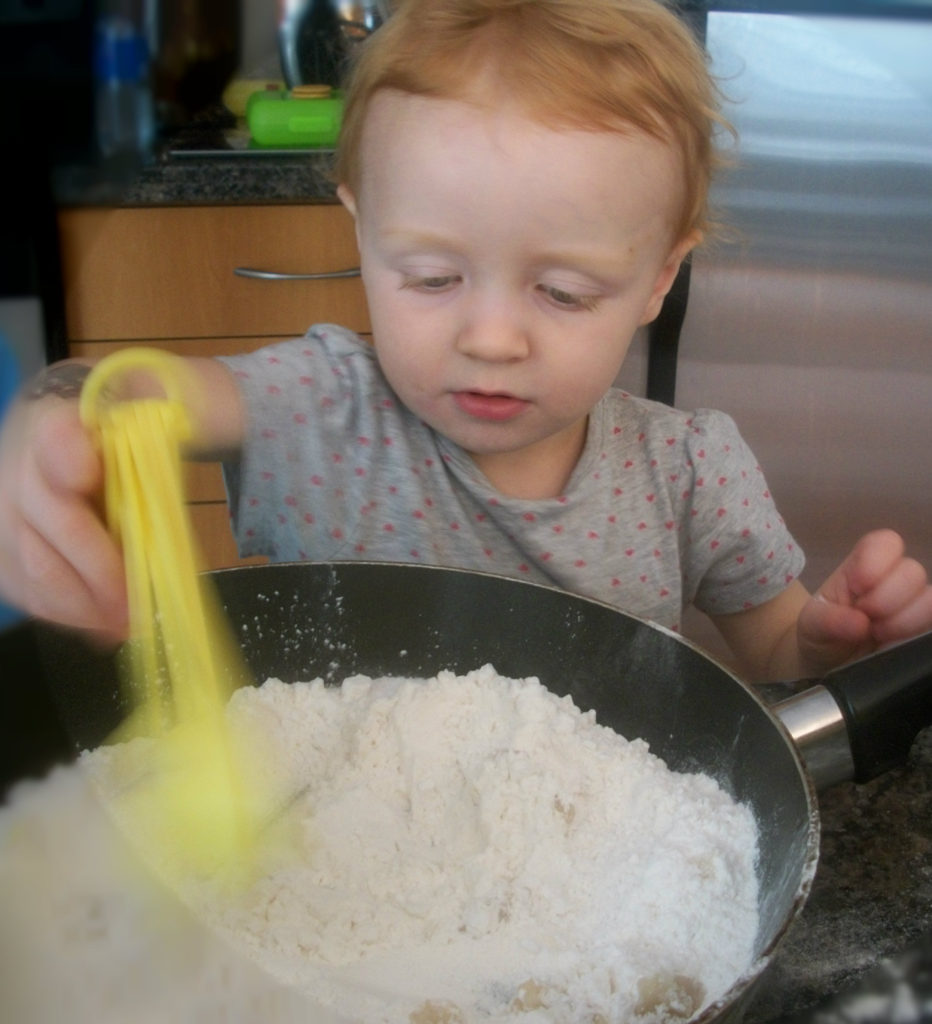
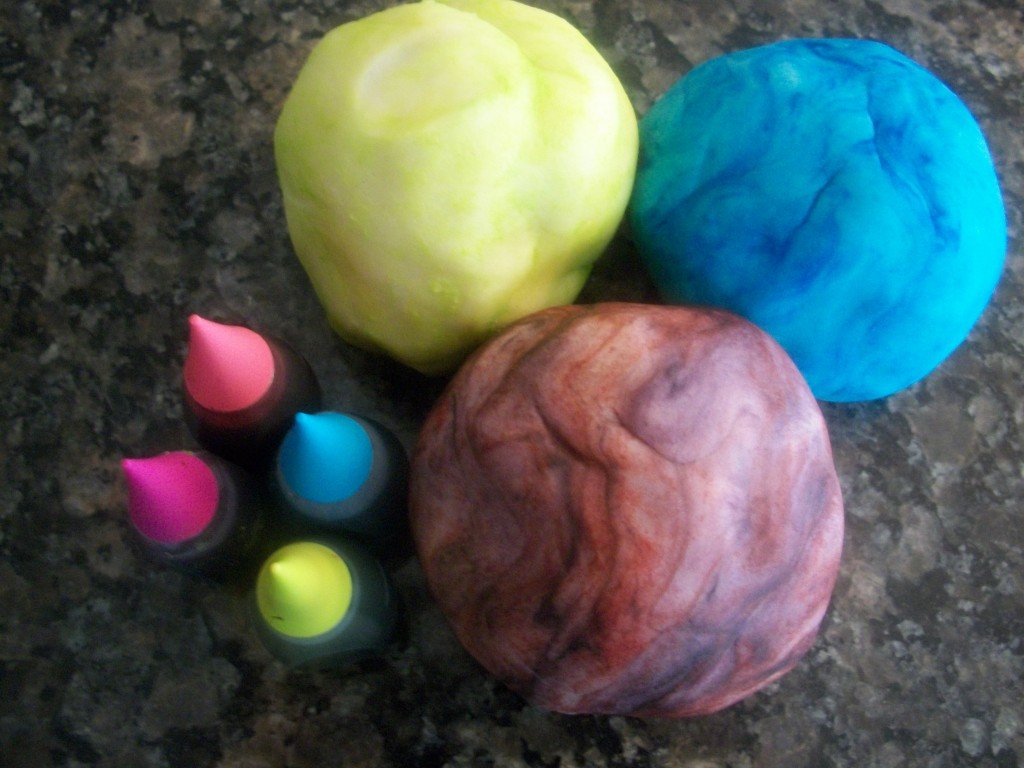
The whole process took less than 10 minutes and the girls had a blast helping mom to make their very-own Play Dough from scratch. The recipe made a big batch that we were able to divide into three fun colours. If you want to take your Play Dough making to the next level, you could always add glitter!
Ta-da! Hours of family fun for my pint-size Picassos. I hope you and your children have just as much fun as we did making our very-own batch of homemade Play Dough!
And for those who are itching to get out of the house, check out our list of 8 rainy day activities for families in the Fraser Valley.


